
Safety Checklist for DIY Newborn Photography
Kim Forrester Photography, Vancouver Mobile Newborn Studio
Many families have been welcoming babies this year with the “Covid Baby Boom”, and newborn photography is one of those services that they might be opting out of due to the pandemic. This means MORE babies, yet FEWER people booking newborn photographers.
Then what happens? Excited expectant parents spend their extra time at home browsing Pinterest, and seeing all those cute, curly photos of babies in buckets only makes them want to take on a new project of making their own sweet new addition look just as adorable. They think “I can totally do something like that myself”, and off they go to Etsy for some cute headbands/hats/props.
If this is you, I don’t blame you at all! I too would be excited to capture my baby looking oh-so-tiny-and-adorable during this fleeting time. But sadly, accidents have happened, and babies have gotten injured. This can be avoided with some basic knowledge of newborn photography safety, which I believe is my job as a newborn photographer to share with all of you!
If you’re going to try your own DIY newborn photography, OR hire a photographer who is not a newborn photographer (this includes the photographer who did your wedding or family photo, or your friend who is a hobbyist photographer), take some time to study this newborn photography checklist:
1: Check with your healthcare practitioner
Was your baby born with any health conditions or physical requirements that would affect their comfort or safety in certain positions? If unsure, ask your doctor. For example, babies with hip dysplasia might not be comfortable on their tummy or in a snug wrap with their legs tucked up under their body.
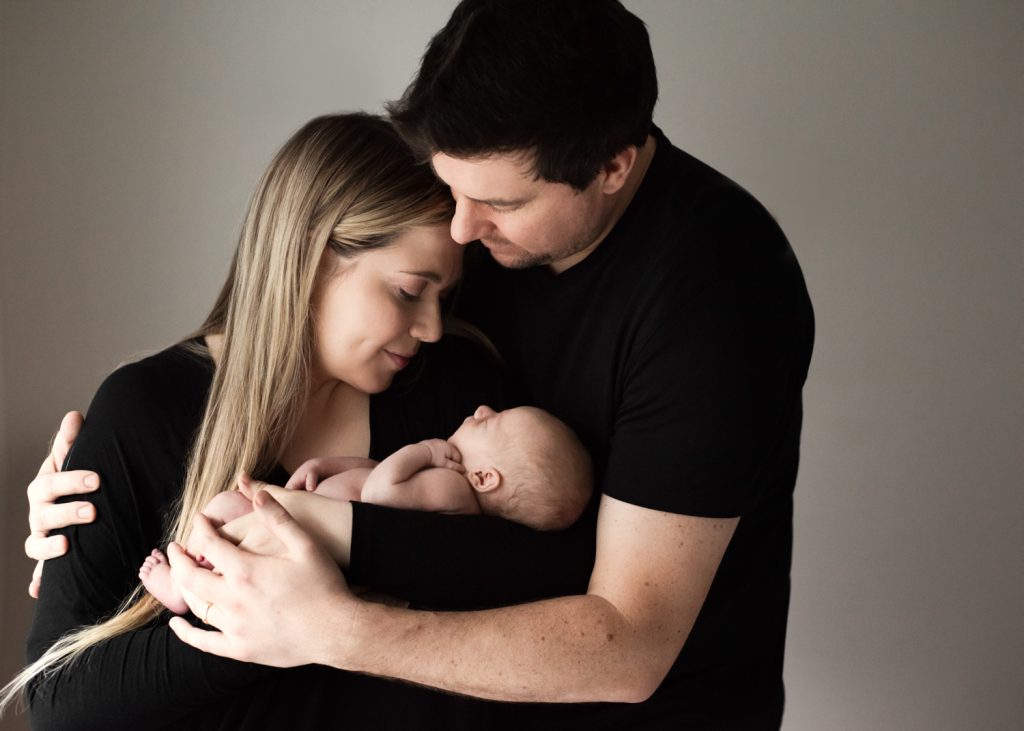
Photo credit: Kim Forrester Photography
2. Opt for a lifestyle newborn session
If you’re not confident in your skills (or a photographer’s), steer clear of the props and capture your baby more naturally in your arms, in a loose swaddle or cute onesie. Check out my article on DIY newborn photography: DIY Newborn Photography in 8 Steps | Vancouver Photographer — Newborn Photography Vancouver BC | Maternity & Baby Mobile Studio (kimforresterphotography.com), it’s full of great tips on lighting and composition for taking beautiful photos of yourself with your baby.
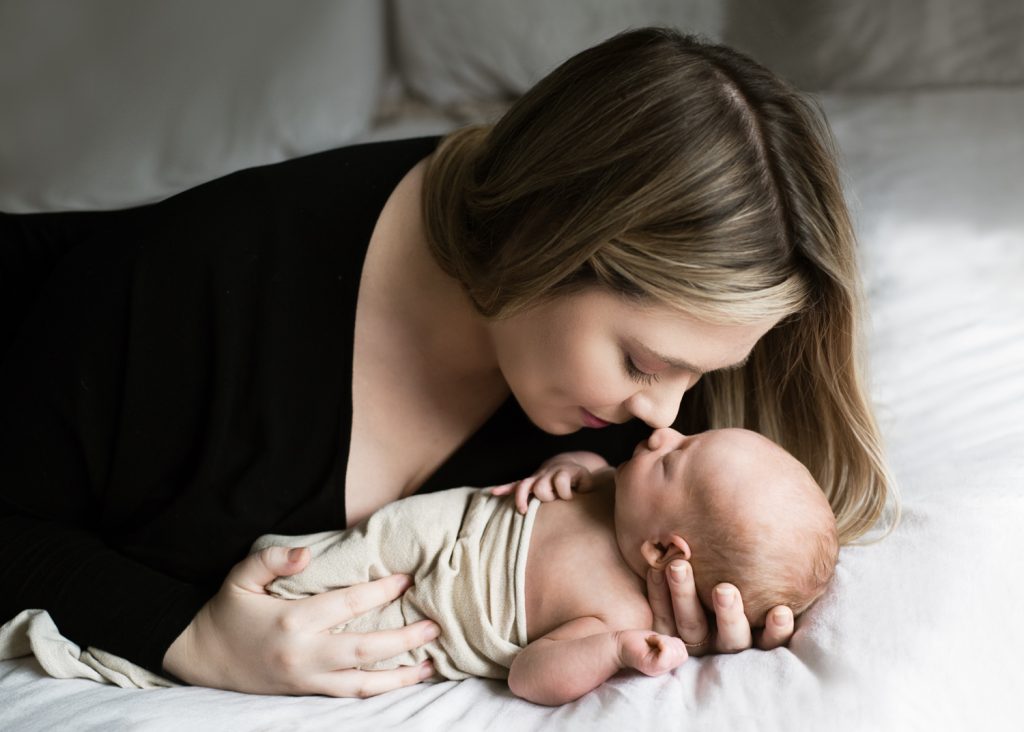
Photo credit: Kim Forrester Photography
3. Ensure the room is warm, but not too warm
A space heater is your best bet for having control of the heat in the room you’re working in, set between 25-28 degrees Celsius. If you wouldn’t be able to fall asleep naked in that room, neither would your baby! Baby can also get too hot, especially if they’re in a wrap, so the heater temperature might need to be lowered accordingly. Check baby’s skin throughout to ensure it feels warm but not clammy, and check for mottled hands and feet to ensure they’re not too cool.
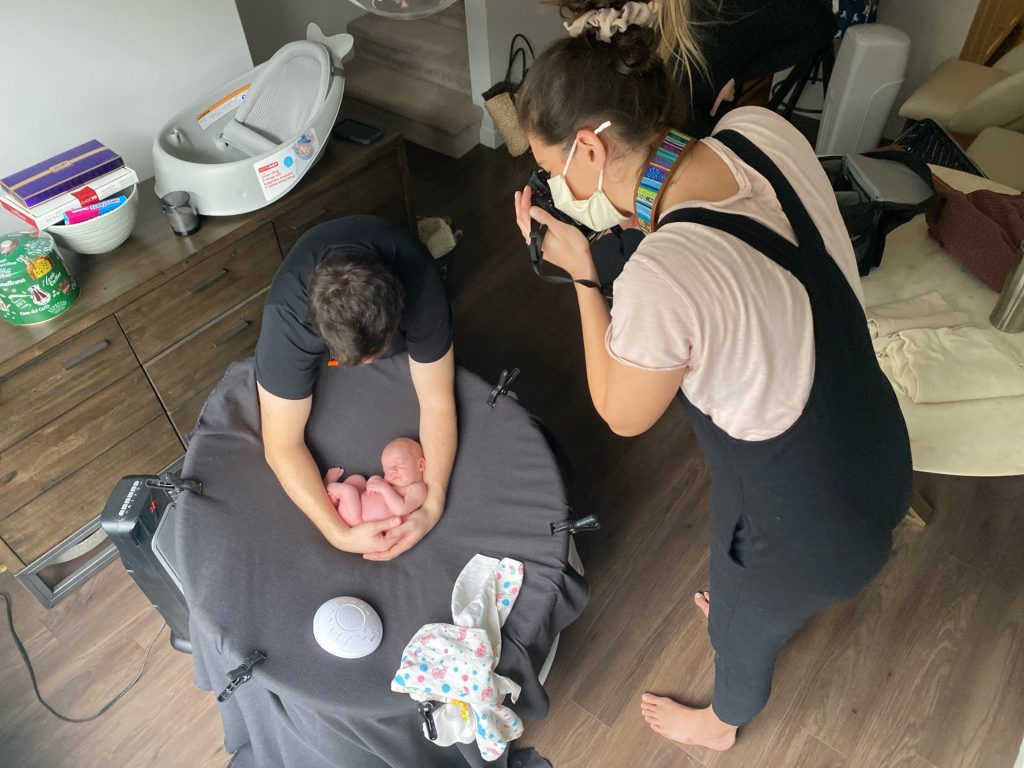
Photo credit: Kim Forrester Photography
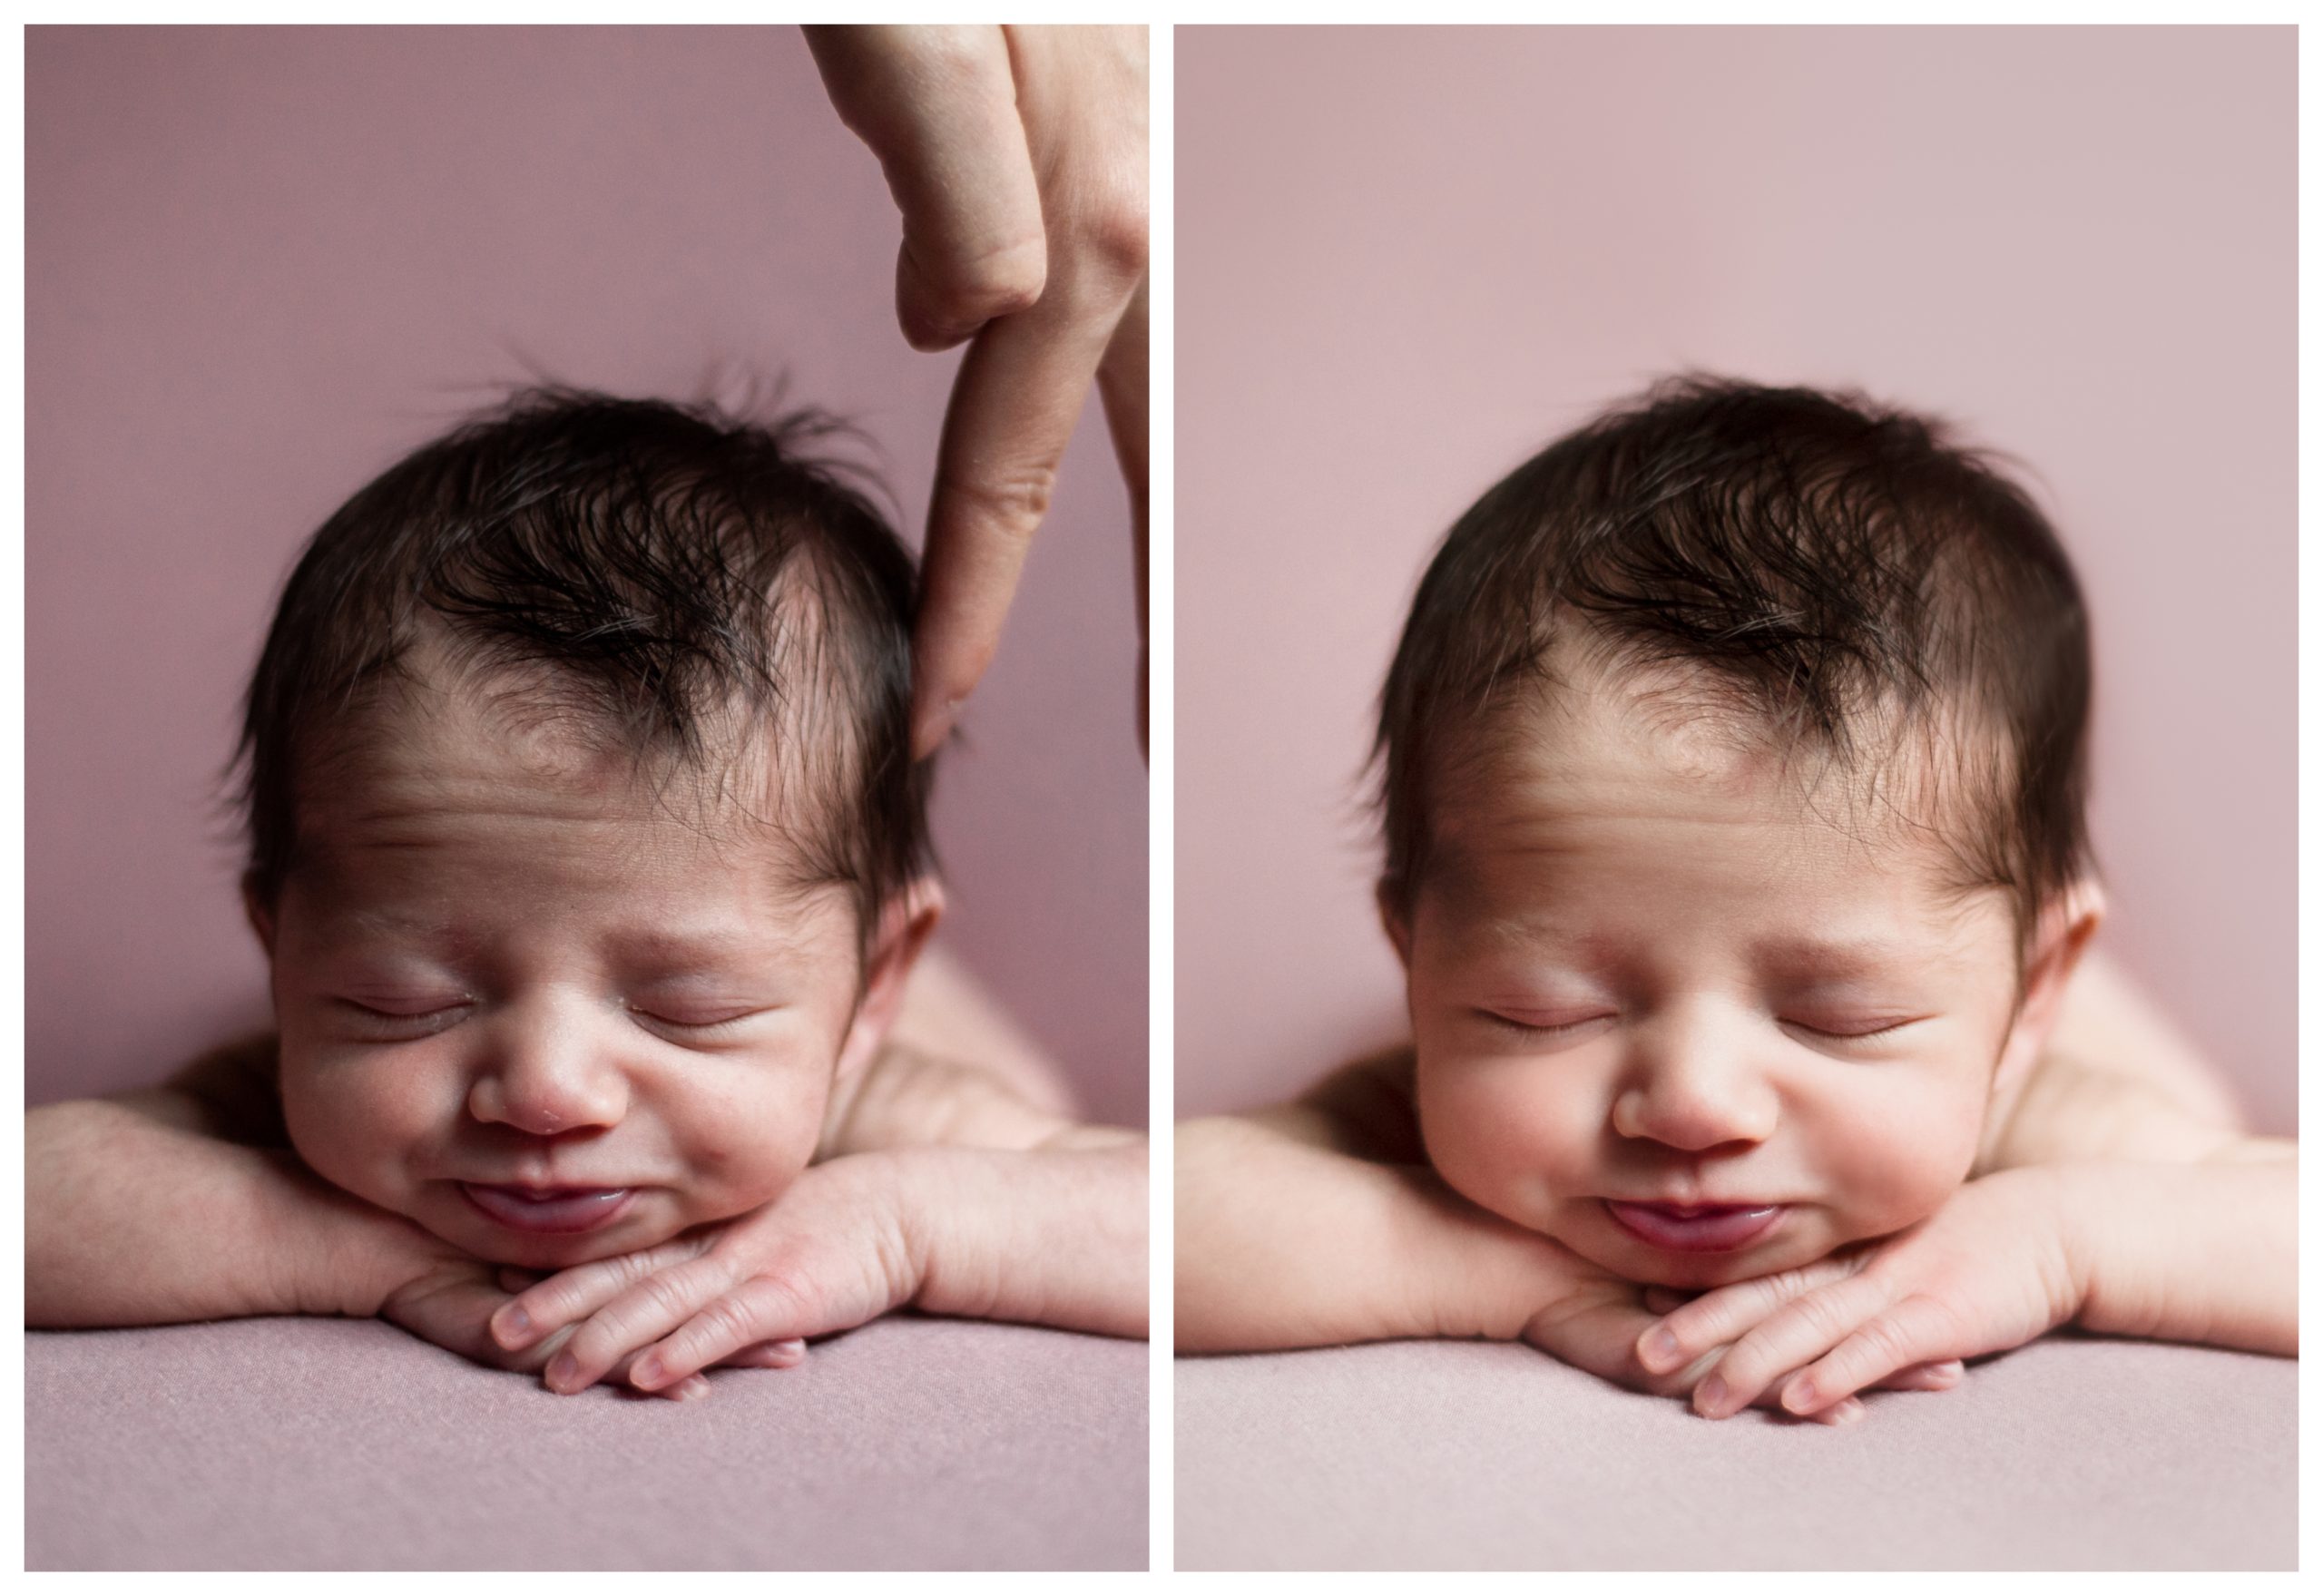
4. Take photos while baby is asleep
The reason you see sleeping babies in newborn photography is because sleeping babies = calm, content, settled babies that will not kick forward out of position or break loose from their swaddle. The best time to attempt newborn photos is shortly after a feed, at the time when your baby naturally sinks off into a deep sleep.
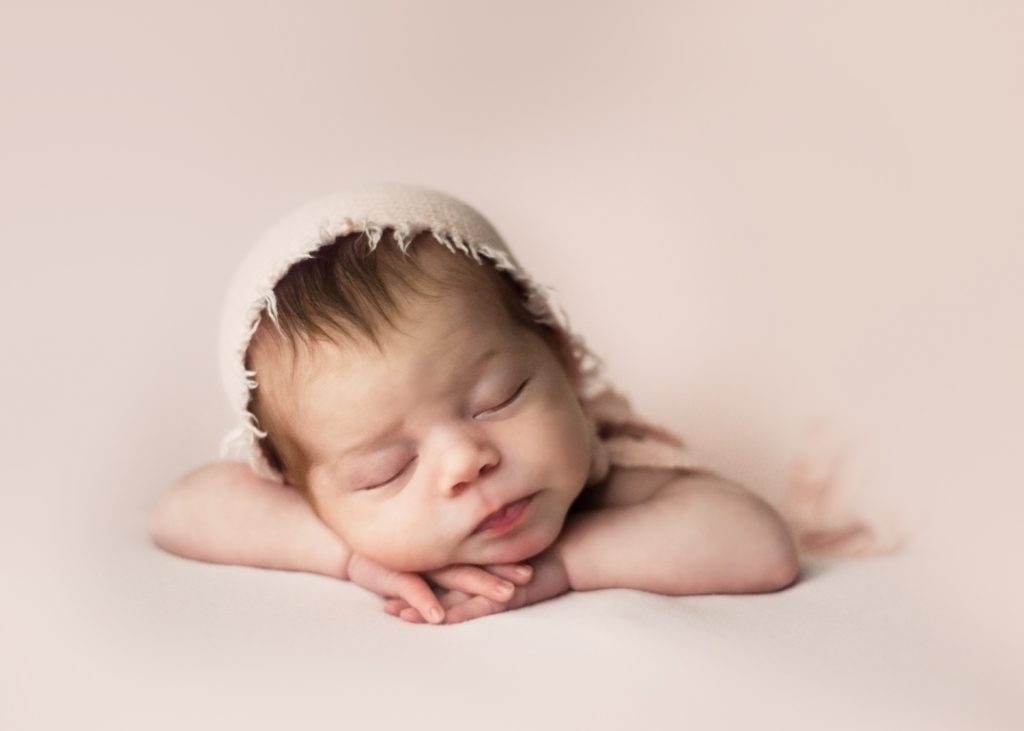
Photo credit: Kim Forrester Photography
5. Never place baby in anything breakable or unsupported
Never place baby in an object that has potential to break or crack, such as glass or ceramic bowls or plant pots. Even if it looks like a sturdy, thick material, it’s not built to contain a baby. If using baskets or buckets, check the inside for any loose bits that could scratch baby, and ALWAYS have a thick layer of fabric between baby and the surface of a prop. Another trend I’m seeing is DIY videos on YouTube for how to pose baby in a hammock suspended from a branch. This a complex pose that is typically accomplished with a composite (two images Photoshopped together) and/or a safe surface that is designed to make it APPEAR that baby is mid air. Please never put baby in a place where they are very high up or unattended.
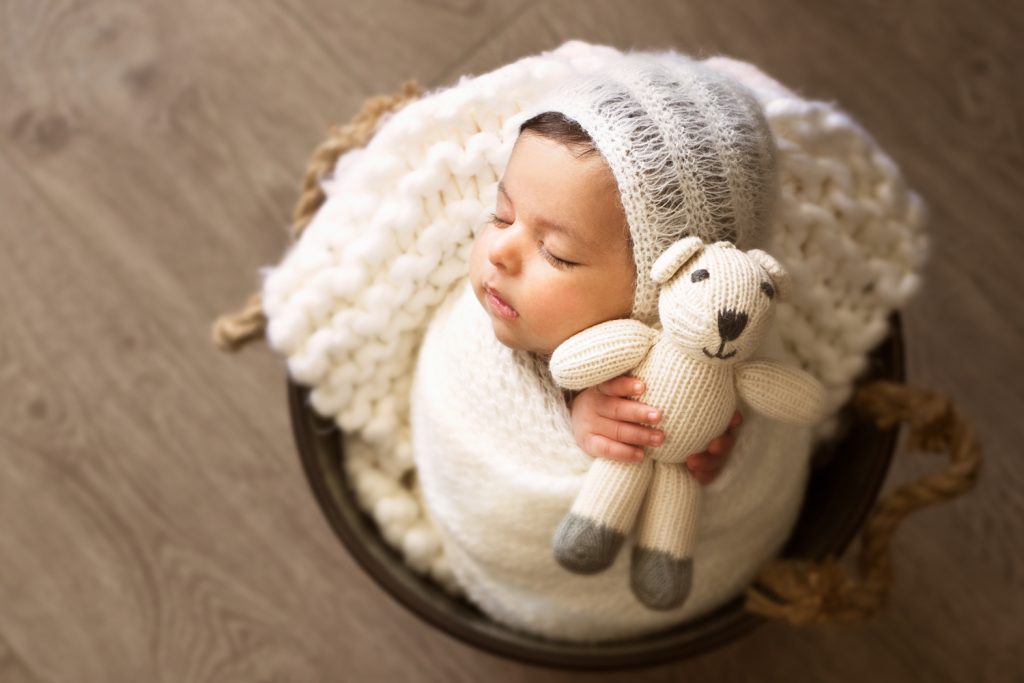
Photo credit: Kim Forrester Photography
6. Pay attention to airway and circulation
Remember that a baby’s head-to-body ratio is much higher than ours, and they’re not built to hold their head directly over their body. Consider the pressure that their head has on their lungs and airway when placed in an upright position without support. If you’re wrapping your baby up like a burrito, make sure there’s space to slip your hand inside the wrap, to leave room for breathing and circulation. Newborn photographers are knowledgeable in supportive wrapping techniques that are not restrictive, and we use very stretchy, thin fabrics.
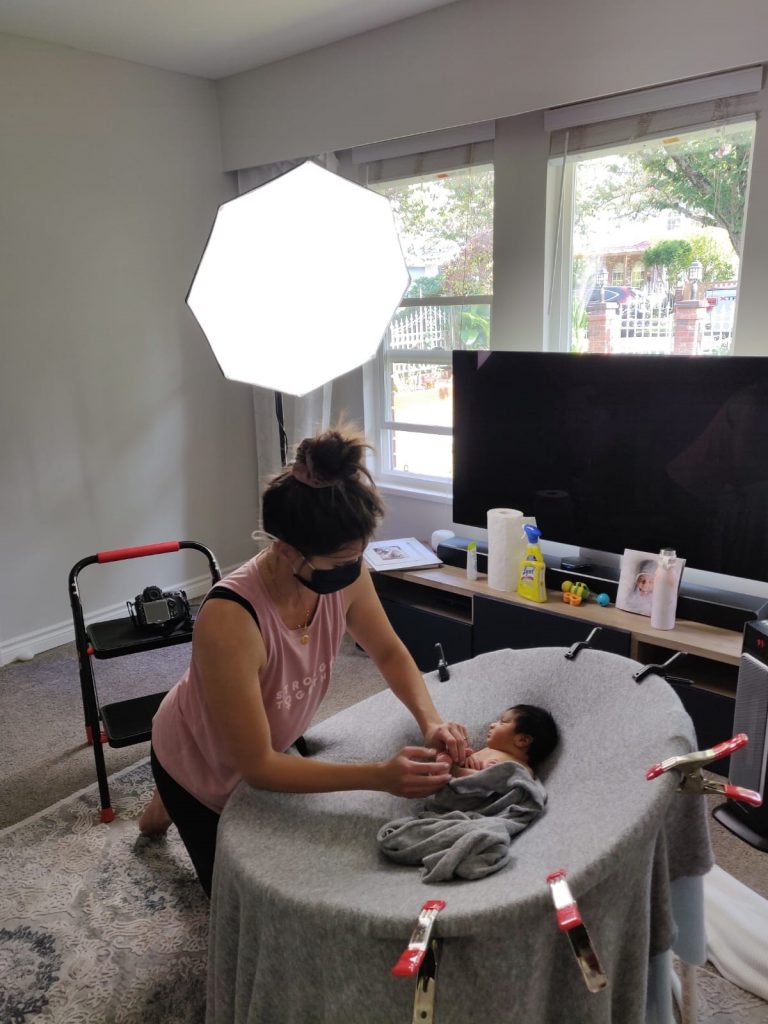
Photo credit: Kim Forrester Photography
7. Have a hand supporting baby's head
Those poses called “froggy pose” or “potato sack pose” on Pinterest are NEVER meant to be done without another person’s hand supporting baby’s head. Only a photographer with Photoshop skills can properly do these complex poses. The ONLY way to do this safely is with two separate photos that are composited together in Photoshop, so there is always a hand supporting the weight of baby’s head.
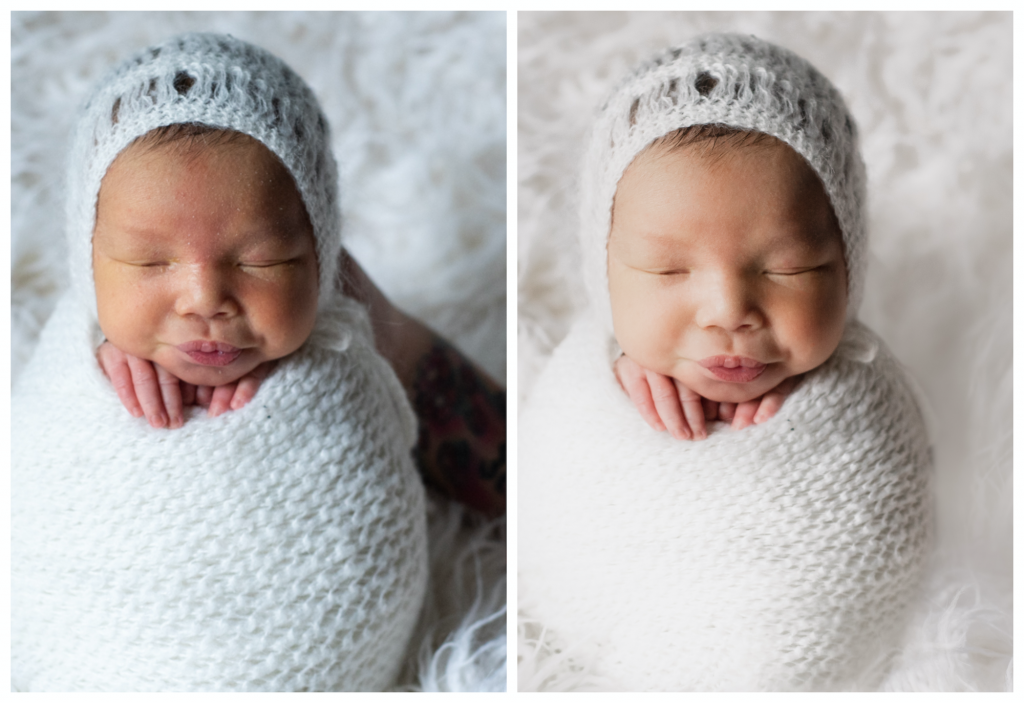
Photo credit: Kim Forrester Photography
8. Have a spotter for pets
No matter how comfortable your pet seems with your baby, remember that this new tiny human in their environment is a big change that could put them on edge more than usual. A simple doorbell ringing could trigger a reaction that could jostle your baby unexpectedly, so always have a second spotter with eyes and hands on your pet while the other spotter looks after your baby. Or better yet, include the pet in family photos and have one of the parents holding the pet while the other holds the baby.
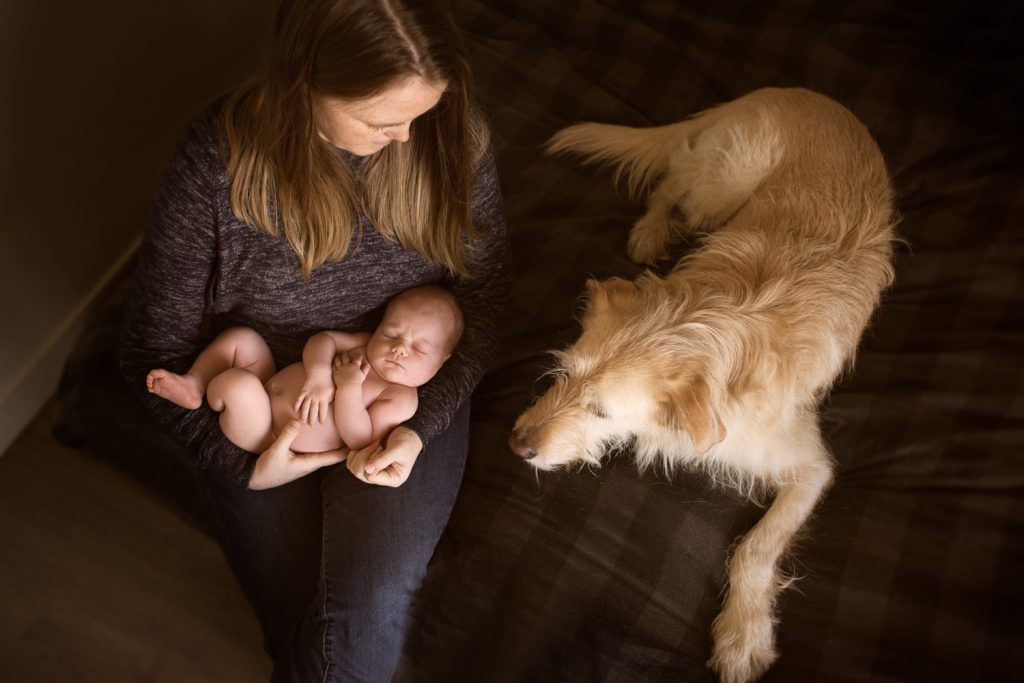
Photo credit: Kim Forrester Photography
9. Respond to cues and take breaks
Crying is the only way a baby can communicate. Many babies experience birth trauma and have feelings that we can’t even begin to understand. If your baby starts to wake and cry between photos, try some very gentle patting, rocking, and adjust them to ensure their limbs and umbilical cord aren’t rubbing against anything uncomfortably. If they don’t settle, take a break for feeding and cuddles. This is why professional newborn photography typically takes 2+ hours, so baby has the time needed to settle between photos.
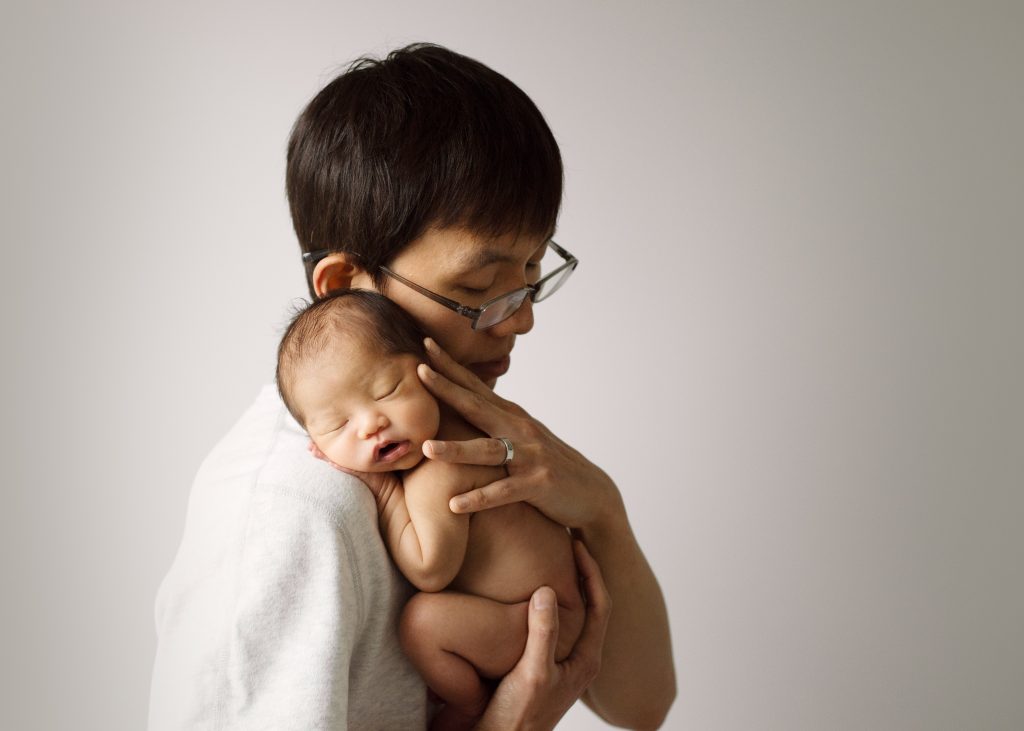
Photo credit: Kim Forrester Photography
10. Hire a Pro
Remember that even during a pandemic, an experienced, trained, professional newborn photographer with a registered, insured business is the best way to ensure your baby’s safety at all times. Newborn studios are typically kept very sanitary with strict germ-prevention protocol, but if you’re still hesitant to travel to a studio, consider a photographer who can come to your home. Check out your photographer’s reviews, qualifications, and don’t shop around for the cheapest photographer on the block. Newborn photography is highly specialized and should cost more than typical family photography. A newborn shoot should typically take 2+ hours to allow for enough time to properly pose baby safely.
At Kim Forrester Photography, we have been specializing in newborn posing and photography for four years. This is in addition to the 1000+ babies I worked with at BC Women’s Hospital. I have operated a mobile studio for the duration of my business and have a well established workflow that involves many safety measures. Even if you’re not hiring me, I’m happy to answer your newborn safety questions at any time!
www.kimforresterphotography.com
Email: kim@kimforresterphotography.com
IG & FB: @kimforresterphotography
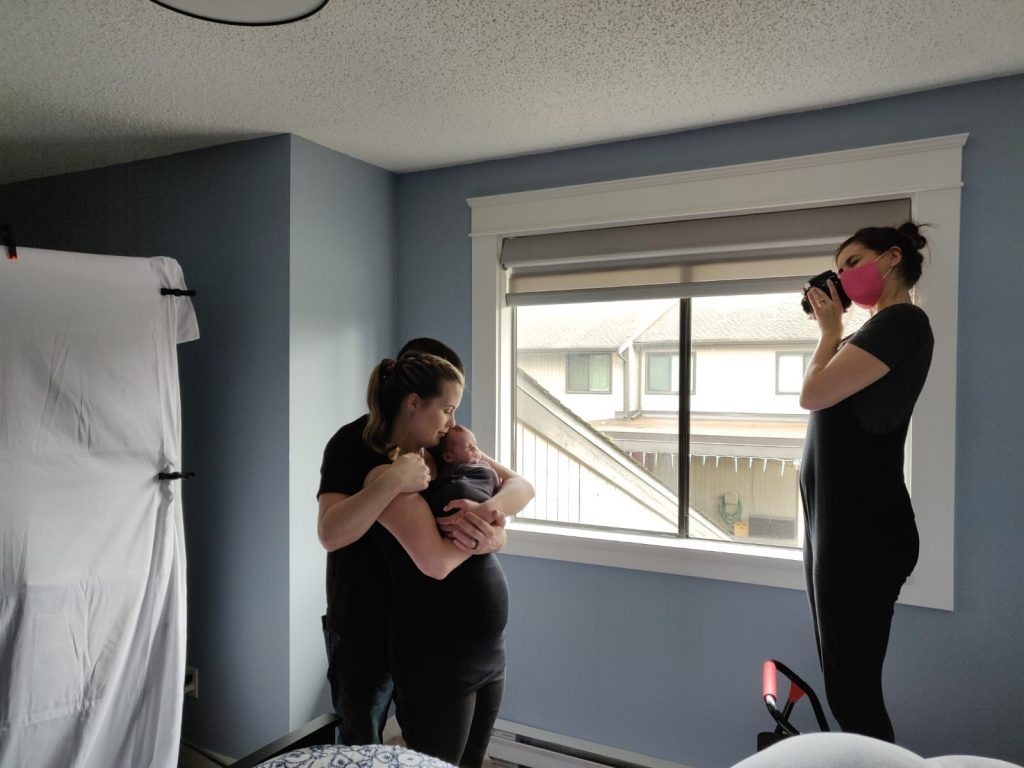
Photo credit: Kim Forrester Photography


One Comment
Thanks for having me as a guest blogger! I really hope this helps equip some families with knowledge on safe practices with newborn photography. Soo important!